This week an Intune feature I have been playing with for a while has finally gone live for Preview.
It’s called “Administrative Templates” and … oh wow, that sounds a lot like Group Policy Administrative Templates, and, oh yes. You’re right… mostly.
Now, before you go bananas saying “Jeremy, clearly Intune now has total Group Policy support!” Or, worse, beat the old trope that “Group Policy must be dead.”
As anything new, it’s worth investigation and to ensure it does what you think it’s going to do.
Let’s talk about the good stuff first !
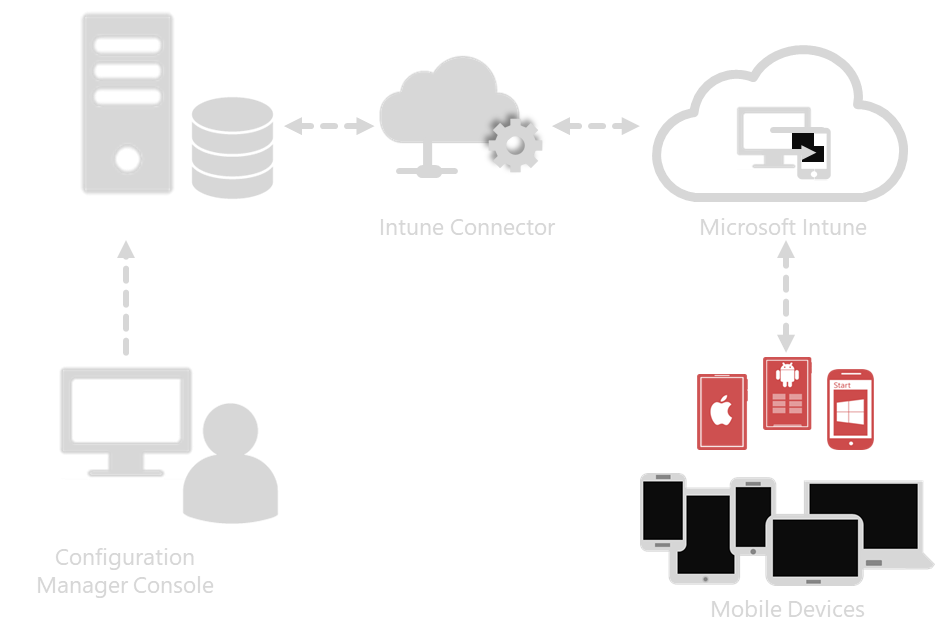
So, to set the stage, you have to first understand what ADMX backed settings are within Intune / MDM.
It starts with the idea that some settings which are curated by the MDM team. Now, this is weird so stick with me. Because the MDM team is not the Intune team.
You can think of the MDM team as the “receiving platform” which decides upon the settings within the platform.
You can think of the Intune team as “expressing” those settings with knobs and buttons. And this is because Intune isn’t the only MDM game in town; for instance, VMware Workspace one, MobileIron, SOTI and others.
So, these ADMX-backed settings are, as you can imagine, real Group Policy settings which are supported by the target application, say, Explorer or Office.
But these settings are curated by the MDM team as “guaranteed to work and supported as such.”
If you want to see the official docs on Administrative Templates feature you can find it here: https://docs.microsoft.com/en-us/intune/administrative-templates-windows
Here’s the best part from the docs:
These templates are similar to group policy (GPO) settings in Active Directory (AD), and are ADMX-backed settings that use XML. But, the templates in Intune are 100% cloud-based. They offer a more simple and straight-forward way to configure the settings, and find the settings you want.
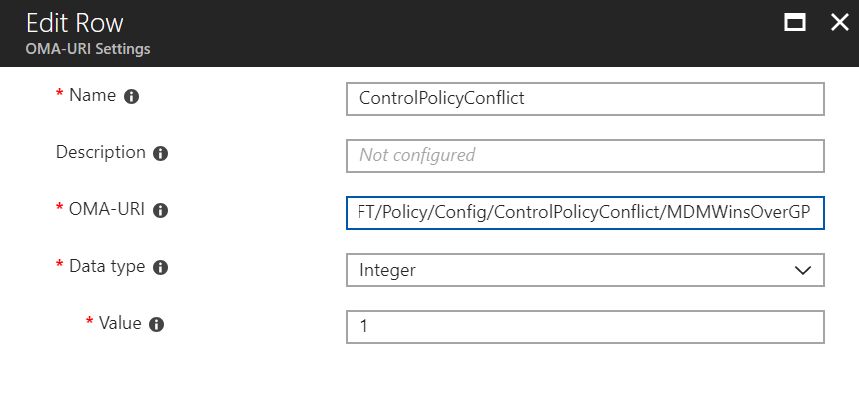
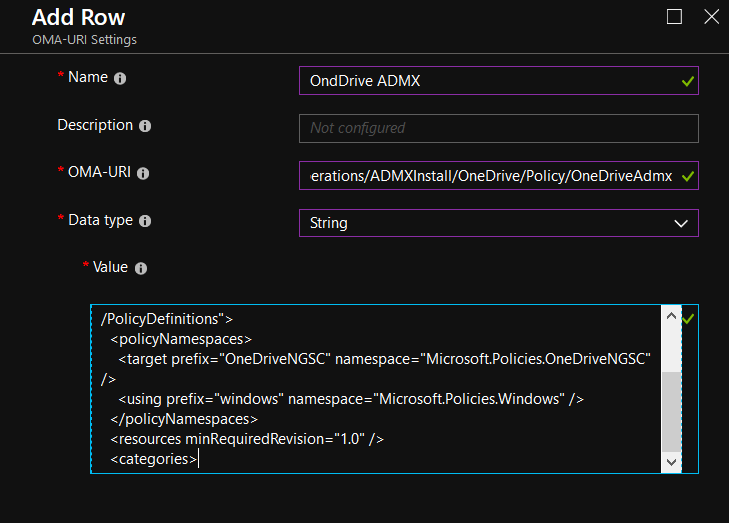
This is really nice. What’s not to like? Indeed, if you wanted to achieve these ADMX-backed settings before this feature came to be, you needed to know how to perform the dark arts of custom OMA-URI (a different topic for a different day.) Now, with Administrative Templates in Intune, for all those settings, those values are just click and go. +1 for that !
If you look at the docs, you’ll see the following line:
The administrative templates include hundreds of settings that control features in Internet Explorer, Microsoft Office programs, remote desktop, access to OneDrive, use a picture password or PIN to sign in, and more.
The key word here is hundreds. Why is it hundreds, and not thousands or “all”?
Well, you need to go back to something I said earlier. All settings in MDM (and by extension, Intune) are curated. Each setting must be vetted to work as expected and then guaranteed by the MDM platform.
Also, at last count the number of exposed Administrative Template settings is 237. (Note: I did not re-count it before publishing this; the number could have gone up somewhat.). As the docs state, most of the settings seem to revolve around Office, OneDrive, Internet Explorer, and a handful of system settings.
As such you will likely see this list grow over time, but my understanding is that this is not meant to overtake or subsume all existing Group Policy settings.
If you are looking for a setting which doesn’t exist in Intune.. either a native clickable one or via Administrative Templates, don’t despair or throw in the towel, yet.
If you want to make any real Group Policy, Group Policy Security and/or Group Policy Preference setting work thru Intune, you need to enhance Intune with a 3rd party tool. Here's a video for how it's done. An equallty effective option is to use this other 3rd party option, which works with MDM or whenever there is no MDM present.
Let’s talk about what’s missing, last.
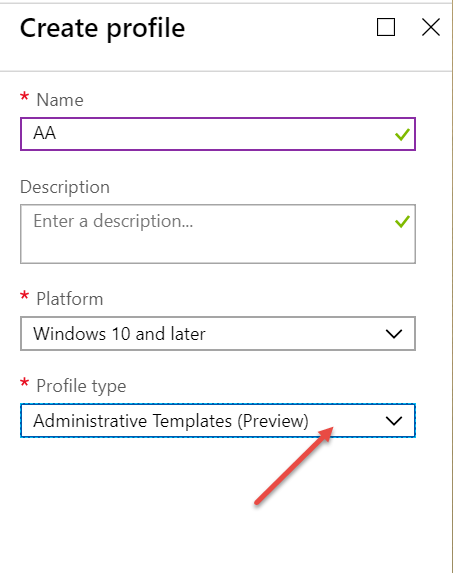
If you get a chance to play with this feature, click upon Intune | Device Configuration | Profiles | Create Profile and select Administrative Templates (Preview) like what’s seen here.
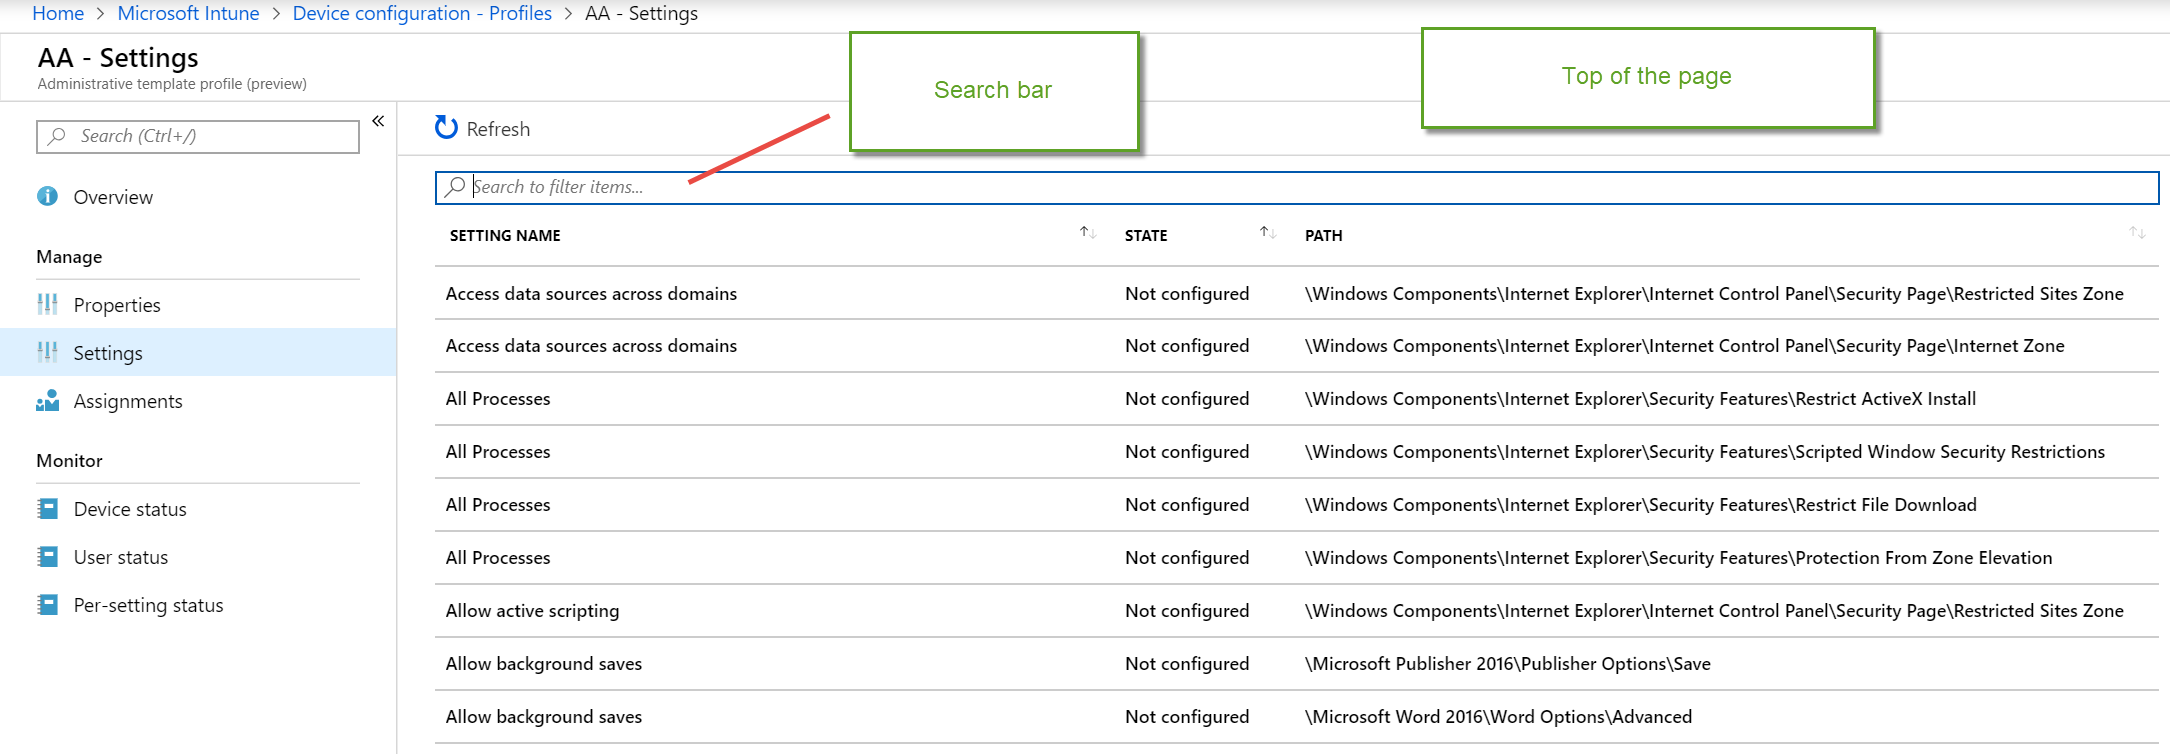
Then under Settings, you will see the list of Administrative Template settings like what’s seen here.
Top of the page…
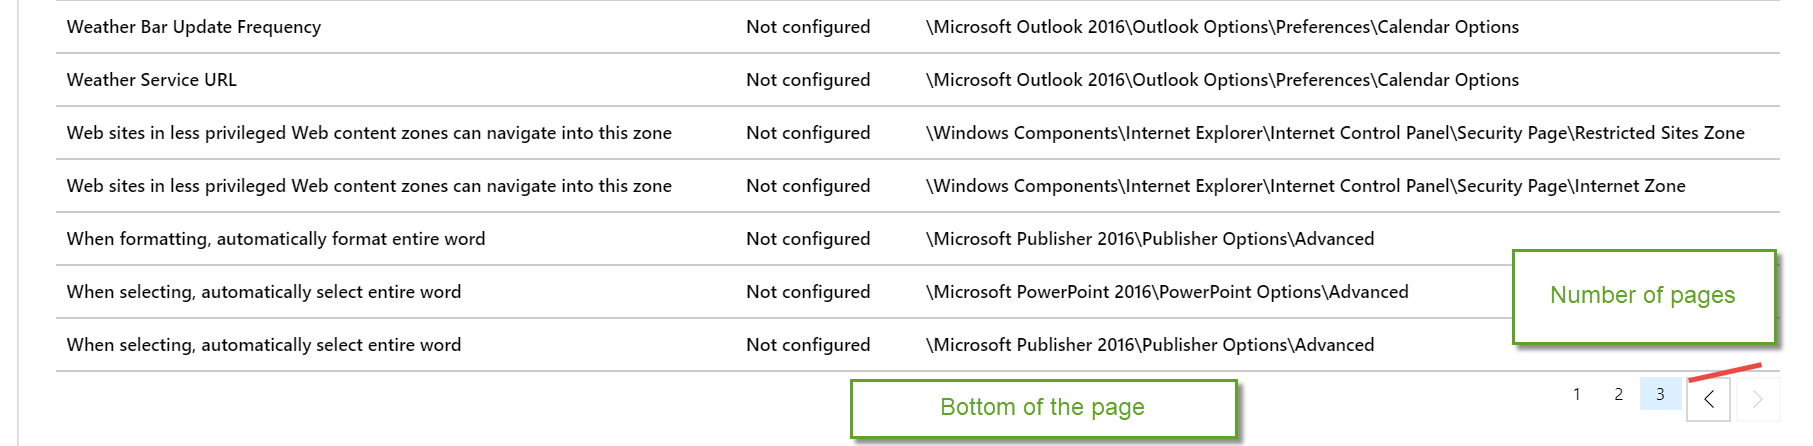
Bottom of page….
At the top of the page begins an alphabetical list of the curated ADMX policy settings and a Search (Filter) bar.
So, if you wanted to quickly search of OneDrive, you can find those settings.
But what you cannot do, like Group Policy, is see these settings hierarchical.
I can see both sides of this; this flat view reduces clutter. But my preference would be to see the settings hierarchical, so I could maybe find related settings around the primary setting I’m searching for.
Summary about Admin Templates in Intune
In summary, Administrative Templates a nice step forward in Intune. Just know that it’s not designed to attempt to take on all of Group Policy settings, but be on the lookout for increased coverage over the long haul as new interesting scenarios pop-up.